The short answer
if runs some code only when a condition is true. else runs other code when it is false:
if (light < 400) {
  digitalWrite(LED, HIGH);   // dark: light on
} else {
  digitalWrite(LED, LOW);    // bright: light off
}
The condition goes in round brackets ( ). The code to run goes in curly brackets { }. That's the whole idea. The rest of this guide is the details that trip people up.
How the board reads an if
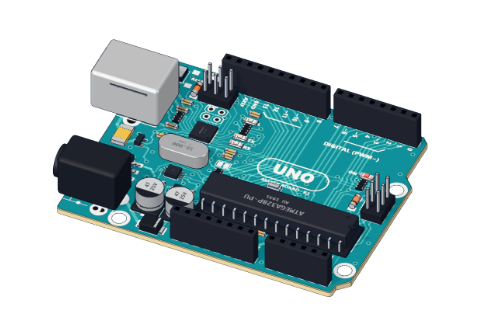
Every time loop() reaches the if, the UNO works out the condition. The answer is always one of two things: true or false.
- true → it runs the code inside the first
{ }and skips theelse. - false → it skips that code and runs the
elseblock (if there is one).
Then it carries on with the next line after the whole if … else. Exactly one of the two blocks runs, never both, never neither.
The six comparisons
A condition is usually a comparison between two values:
| Write | Means | Example | True when… |
|---|---|---|---|
== | is equal to | count == 10 | count is exactly 10 |
!= | is not equal to | now != was | the value changed |
< | less than | light < 400 | it is darker than 400 |
> | greater than | cm > 30 | more than 30 cm away |
<= | less than or equal | cm <= 15 | 15 cm or closer |
>= | greater than or equal | temp >= 25 | 25 or more |
The push button project uses != to print only when the button changes: if (now != was). Without it, the Serial Monitor would fill with "pressed pressed pressed…" thousands of times a second.
The = vs == bug (everyone makes it once)
One = stores a value. Two == compare values.
if (count = 10) { ... }    // WRONG: sets count to 10, always true
if (count == 10) { ... }   // right: asks "is count 10?"
The wrong version still compiles, which is why it is so sneaky. It puts 10 into count, and because 10 is not zero, the condition counts as true every time. If an if runs when it clearly shouldn't, look for a single = first.
else if: more than two choices
Chain conditions with else if. The board checks them from the top down and runs the first one that is true. The rest are skipped.
long cm = distanceCm();

if (cm <= 15) {
  Serial.println("STOP");
} else if (cm <= 30) {
  Serial.println("slow down");
} else {
  Serial.println("all clear");
}
Order matters. At 10 cm, both cm <= 15 and cm <= 30 are true, but only "STOP" is printed, because it comes first. If you swap the first two tests, 10 cm would print "slow down" and "STOP" could never happen.
| Distance | First true test | Printed |
|---|---|---|
| 10 cm | cm <= 15 | STOP |
| 22 cm | cm <= 30 | slow down |
| 80 cm | none | all clear |
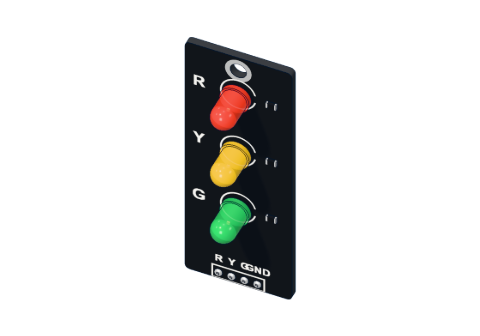
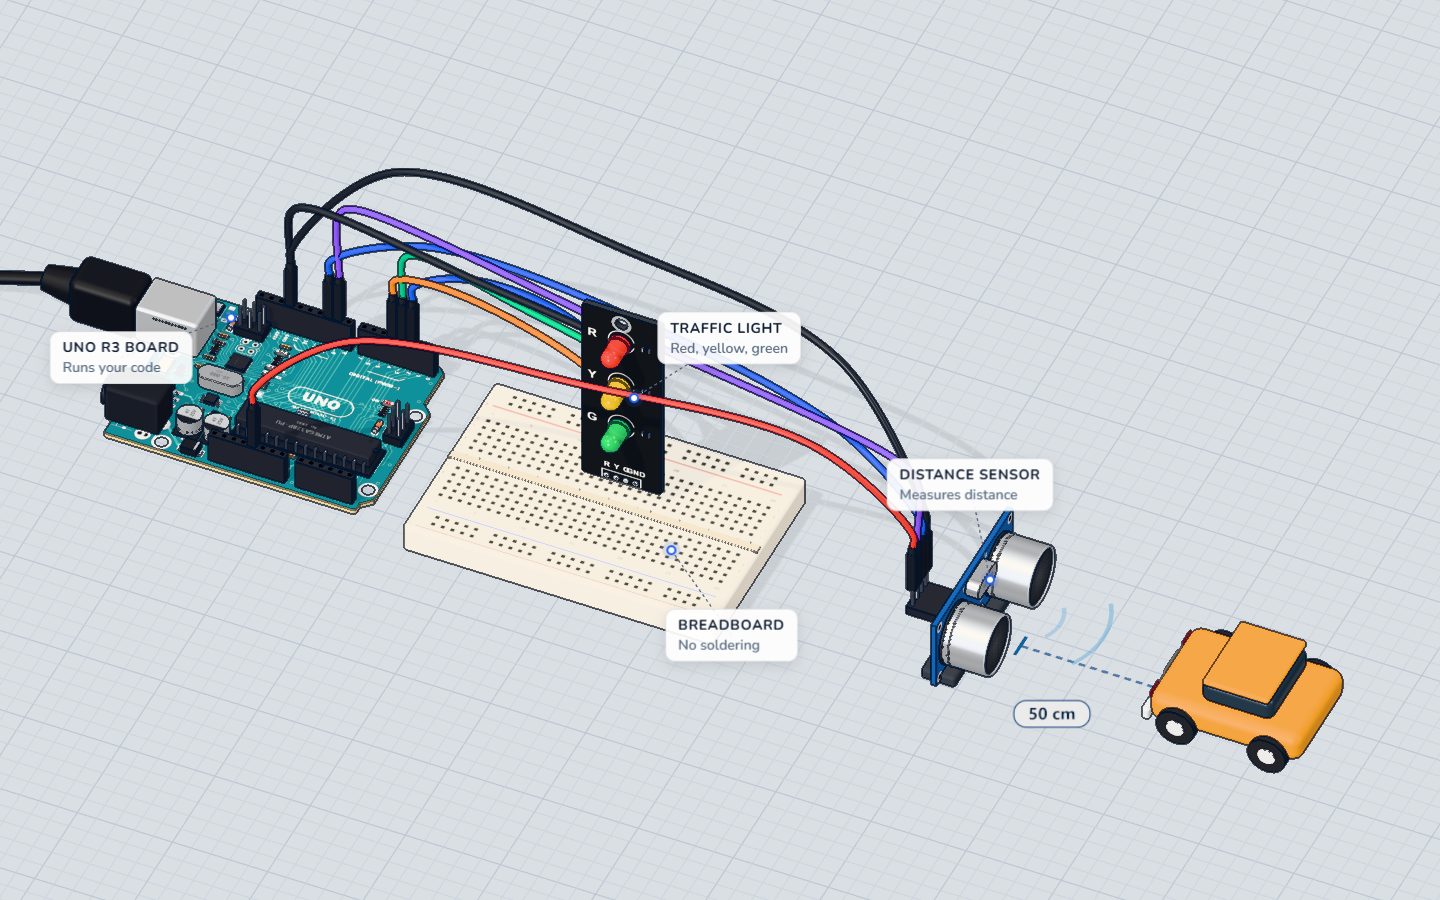
This is the exact logic of our parking sensor project, which lights red, yellow or green.
&& and ||: joining conditions
| Write | Means | True when… |
|---|---|---|
a && b | AND | both are true |
a || b | OR | at least one is true |
!a | NOT | a is false |
The parking sensor uses AND for its middle band: cm > 15 && cm <= 30, "more than 15 and at most 30". A thermostat might use OR: if (temp > 30 || buttonPressed) turns the fan on when it is hot or when you ask for it.
A real example: the night light
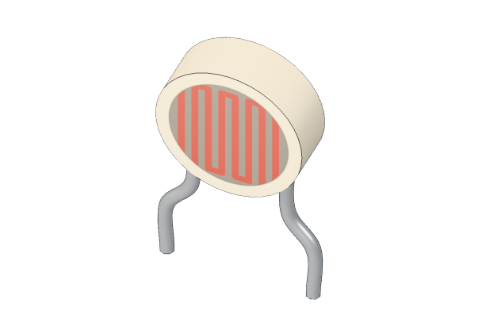
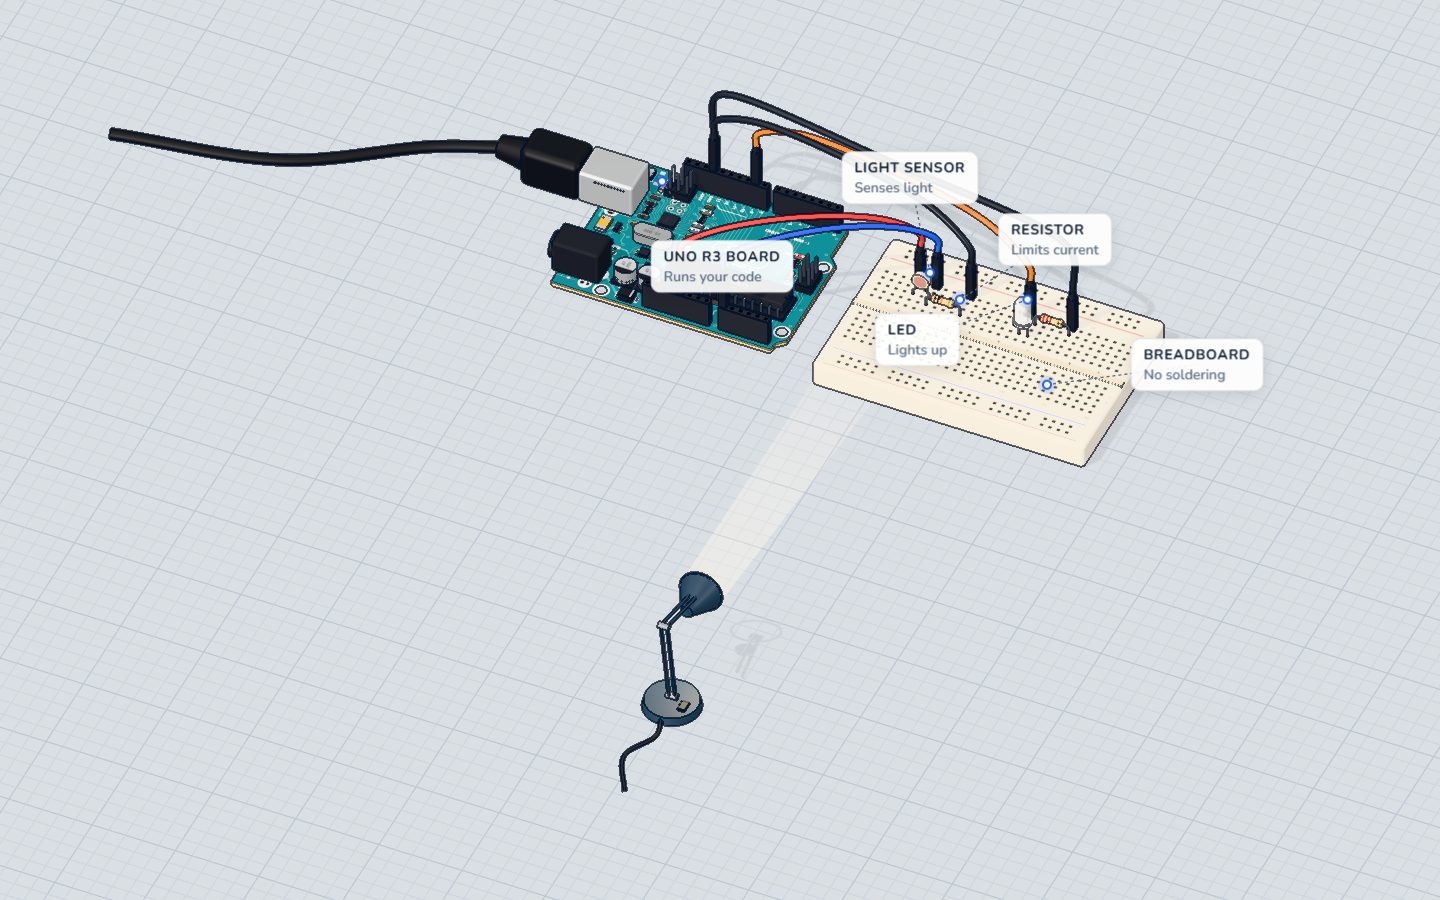
Here is the heart of the night light project. The light sensor gives a higher number when it is brighter:
const int DARK = 400;   // below this it counts as dark

void loop() {
  int light = analogRead(A0);
  if (light < DARK) {
    analogWrite(9, map(light, 0, DARK, 255, 30));   // darker = brighter LED
  } else {
    analogWrite(9, 0);                                // daytime: off
  }
  delay(200);
}
const int DARK = 400;keeps the threshold in one named place. Change it once to tune the light.if (light < DARK)is the decision. Below 400 it's night.elsemakes sure the LED goes off again when the lamp comes back on. Forget theelseand the LED would stay at its last brightness.
Common mistakes
- The
ifalways runs. You wrote=instead of==. Use two equals signs to compare. - A semicolon after the condition.
if (cm < 15);ends theifright there, and the{ }block below runs every time. Never put;after the)of anif. - No curly brackets. Without
{ }, only the one next line belongs to theif. Add a second line and it runs every time. Always use braces. else ifin the wrong order. Put the narrowest or most important test first.- Comparing text with
==. ForStringobjects it works; forchararrays it compares addresses. Beginners: stick to numbers.
Check yourself
What does if (count = 10) do?
A single = stores a value. To compare, write count == 10.
With if (cm <= 15) … else if (cm <= 30) … else …, what runs at cm = 12?
The board runs the first true test and skips the rest of the chain.
When is (cm > 15 && cm <= 30) true?
&& means both parts must be true: more than 15 and at most 30.
Questions people ask
How many else if can I use in Arduino?
As many as you like. The board checks them in order and stops at the first true one. If you have many fixed values to compare, such as menu numbers 1 to 8, a switch … case can be easier to read.
What is the difference between if and while?
if checks the condition once and runs its block at most once. while keeps running its block again and again as long as the condition stays true. Inside loop(), an if is usually what you want, because loop() already repeats.
Can I put an if inside another if?
Yes, that's called nesting. if (armed) { if (cm < 15) alarm(); } only checks the distance when the alarm is armed. It often reads more clearly with &&: if (armed && cm < 15).
Why does my if work in the Serial Monitor but not with the LED?
Usually the comparison is fine and the wiring is not: check the pin number and that pinMode(pin, OUTPUT) is in setup(). Print the value you compare with Serial.println() to see the real numbers.
What's next
Learn to repeat things without copying lines in for loops and arrays, then build the parking sensor and change its distances.
Build it yourself in 3DFree, in your browser — no board, no wires, nothing to buy.Open the 3D lab →Your progress stays on this device — no account, nothing sent anywhere.
Last updated 2026-11-11