The short answer
switch looks at one value and jumps to the matching case:
switch (mode) {
  case 1:
    Serial.println("slow");
    break;
  case 2:
    Serial.println("fast");
    break;
  default:
    Serial.println("unknown");
}
If mode is 1, it prints "slow". If it is 2, "fast". If it is anything else, default runs. The break ends each case.
switch vs if/else
Both can do the same job. The difference is in the shape of the question:
if / else if | switch | |
|---|---|---|
| Good for | ranges and conditions: cm < 15, a && b | exact values: 1, 2, 3 or 'r', 'g', 'b' |
| Tests | any true/false expression | one variable against fixed values |
| Reads like | a chain of questions | a menu |
Use if for "less than" and "between". Use switch when you are matching exact numbers or characters. See if, else and comparisons for the first kind.
A colour menu for an RGB LED
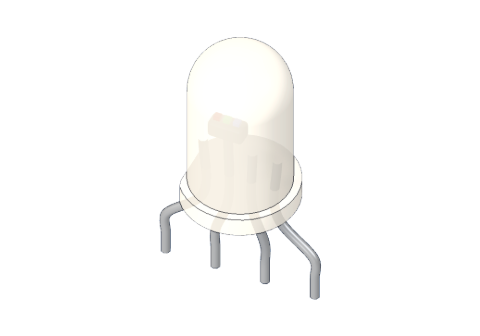
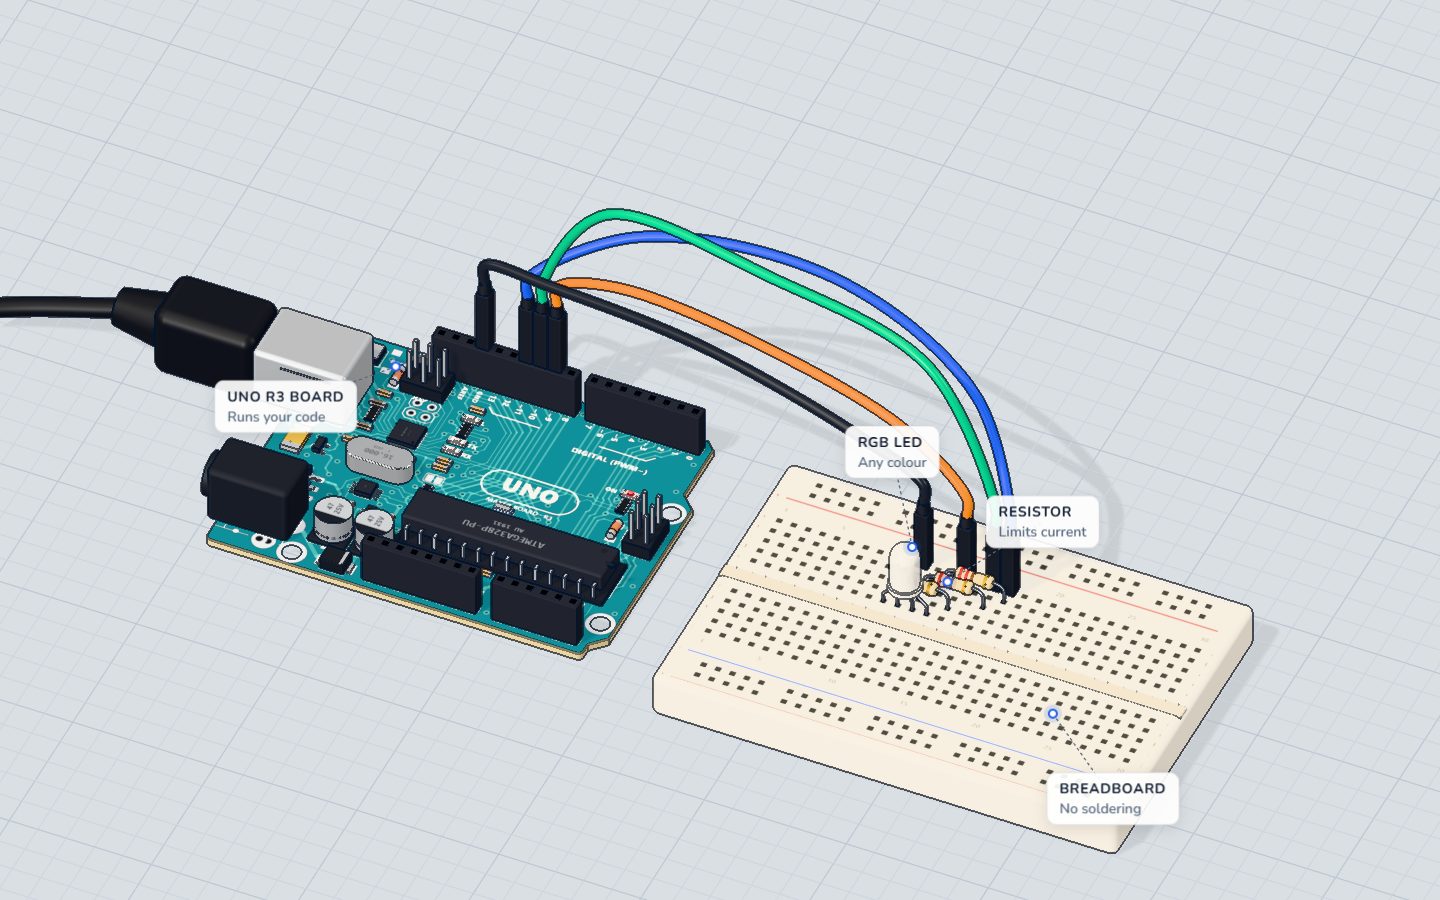
Open the Serial Monitor, type a letter, and the LED changes colour. It uses the wiring from the RGB LED project (pins 9, 10, 11) and a setColor() function:
const int RED = 9, GREEN = 10, BLUE = 11;

void setColor(int r, int g, int b) {
  analogWrite(RED, r);
  analogWrite(GREEN, g);
  analogWrite(BLUE, b);
}

void setup() {
  Serial.begin(9600);
  Serial.println("Type r, g, b, w or o");
}

void loop() {
  if (Serial.available() > 0) {          // did a letter arrive?
    char key = Serial.read();
    switch (key) {
      case 'r': setColor(255, 0, 0);     break;   // red
      case 'g': setColor(0, 255, 0);     break;   // green
      case 'b': setColor(0, 0, 255);     break;   // blue
      case 'w': setColor(255, 255, 255); break;   // white
      case 'o': setColor(0, 0, 0);       break;   // off
      default:
        Serial.println("try r, g, b, w or o");
    }
  }
}Serial.available()says how many characters are waiting.if (... > 0)runs the switch only when you typed something.Serial.read()takes one character out of the waiting line and gives it tokey.- Single quotes
'r'mean one character. Double quotes"r"mean text, and would not work here. defaultcatches everything else: a typo, or the Enter key (see below).
break: the word you must not forget
Without break, the program falls through and keeps running the next cases too:
switch (n) {
  case 1: Serial.println("one");     // no break!
  case 2: Serial.println("two");
}
With n = 1 this prints "one" and then "two". Sometimes that is useful. You can group cases on purpose:
switch (key) {
  case 'y':
  case 'Y':                 // 'y' and 'Y' do the same thing
    Serial.println("yes");
    break;
}
But most of the time a missing break is a bug. If two actions run when you expected one, check your breaks first.
Common mistakes
- Missing
break. The next case runs too (fall-through). - Using
==inside a case. Writecase 5:, notcase x == 5:. A case is a fixed value, not a test. - Using a range.
case 1-5:is subtraction (it meanscase -4:). For ranges useif. - Double quotes for characters.
case "r":fails. Usecase 'r':. - Declaring a variable inside a case without extra curly brackets
{ }. The compiler may complain about "crosses initialization". - The newline character. The Serial Monitor can send a "newline" after each letter. Your
defaultbranch will see it and print the help text twice. In the monitor's menu choose No line ending.
Check yourself
Which type can NOT be used in a switch?
switch compares exact whole values. Decimal numbers (float) and text (String) don't work.
What does break do inside a case?
Without break the program falls through into the next case.
When does default run?
default is the "everything else" branch, and it is optional.
Questions people ask
Is switch faster than if/else on Arduino?
Often slightly, because the compiler can turn a switch into a jump table. For a handful of cases you will never notice. Choose the one that reads best.
Can I use switch with a String?
No. Compare Strings with if (text == "start"), or read one character and switch on that, as above.
Do I need default?
No, but it is good practice: it handles unexpected values, and a printed message in default is a quick way to spot wrong input.
Can I put a switch inside another switch?
Yes, but it gets hard to read quickly. Move the inner switch into its own function.
What's next
Try the colour menu on the RGB LED project, then add your own colours. Next, learn why sensor numbers jump around and how to calm them down in smoothing noisy readings.
Build it yourself in 3DFree, in your browser — no board, no wires, nothing to buy.Open the 3D lab →Your progress stays on this device — no account, nothing sent anywhere.
Last updated 2026-11-17